The process...
Step 1: Clear the rooms
We remove absolutely everything from all of the rooms we were refinishing. Everything was moved out of both bedrooms, the bedroom hall and the front hall and stored in the livingroom.

Step 2: Prep
Next we removed the baseboards, numbering and coding them for easy re-assembly. We also removed all of the doors and heat vent covers.
Step 3: Sanding
I rented an orbital sanding machine from my local home improvement centre. I sanded the floors with progressively finer grit paper, until the old finish was removed and the floors were smooth.
Step 4: Vacuum
Next step was to vacuum to remove all of the dust.
Step 5: Staining
First tape off the walls to protect them from the stain. I chose the stain colour very carefully since I was trying to match to the colour of the faux hardwood in the bathroom, and the newly installed engineered hardwood in the kitchen. I took samples of both flooring into the home improvement centre, and had them test several stain colours on a sample of oak hardwood. The stain looks dramatically different on pine compared to oak, so if you are colour matching, make sure you test on the same wood type and your floors. I chose Red Oak. I stained the floors using a special applicator on a broom handle. Only one coat was required, and we let it dry for almost 24hours.
Step 6: Varathane
Varathane is the top protective coating, and you can choose either glossy or satin depending on your personal preference. I chose satin. Applying the varathane is easy, but you need to work fast. I found that it dried VERY quickly, so I didn't have much of chance to go over an area multiple times to ensure smooth coverage. I did three coats of varathane, with about 4hours drying and a light 200grit hand sanding in between each coat.
Step 7: Move the stuff back
After about 24 hours drying time from the final coat of varathane, the furniture could be moved back.
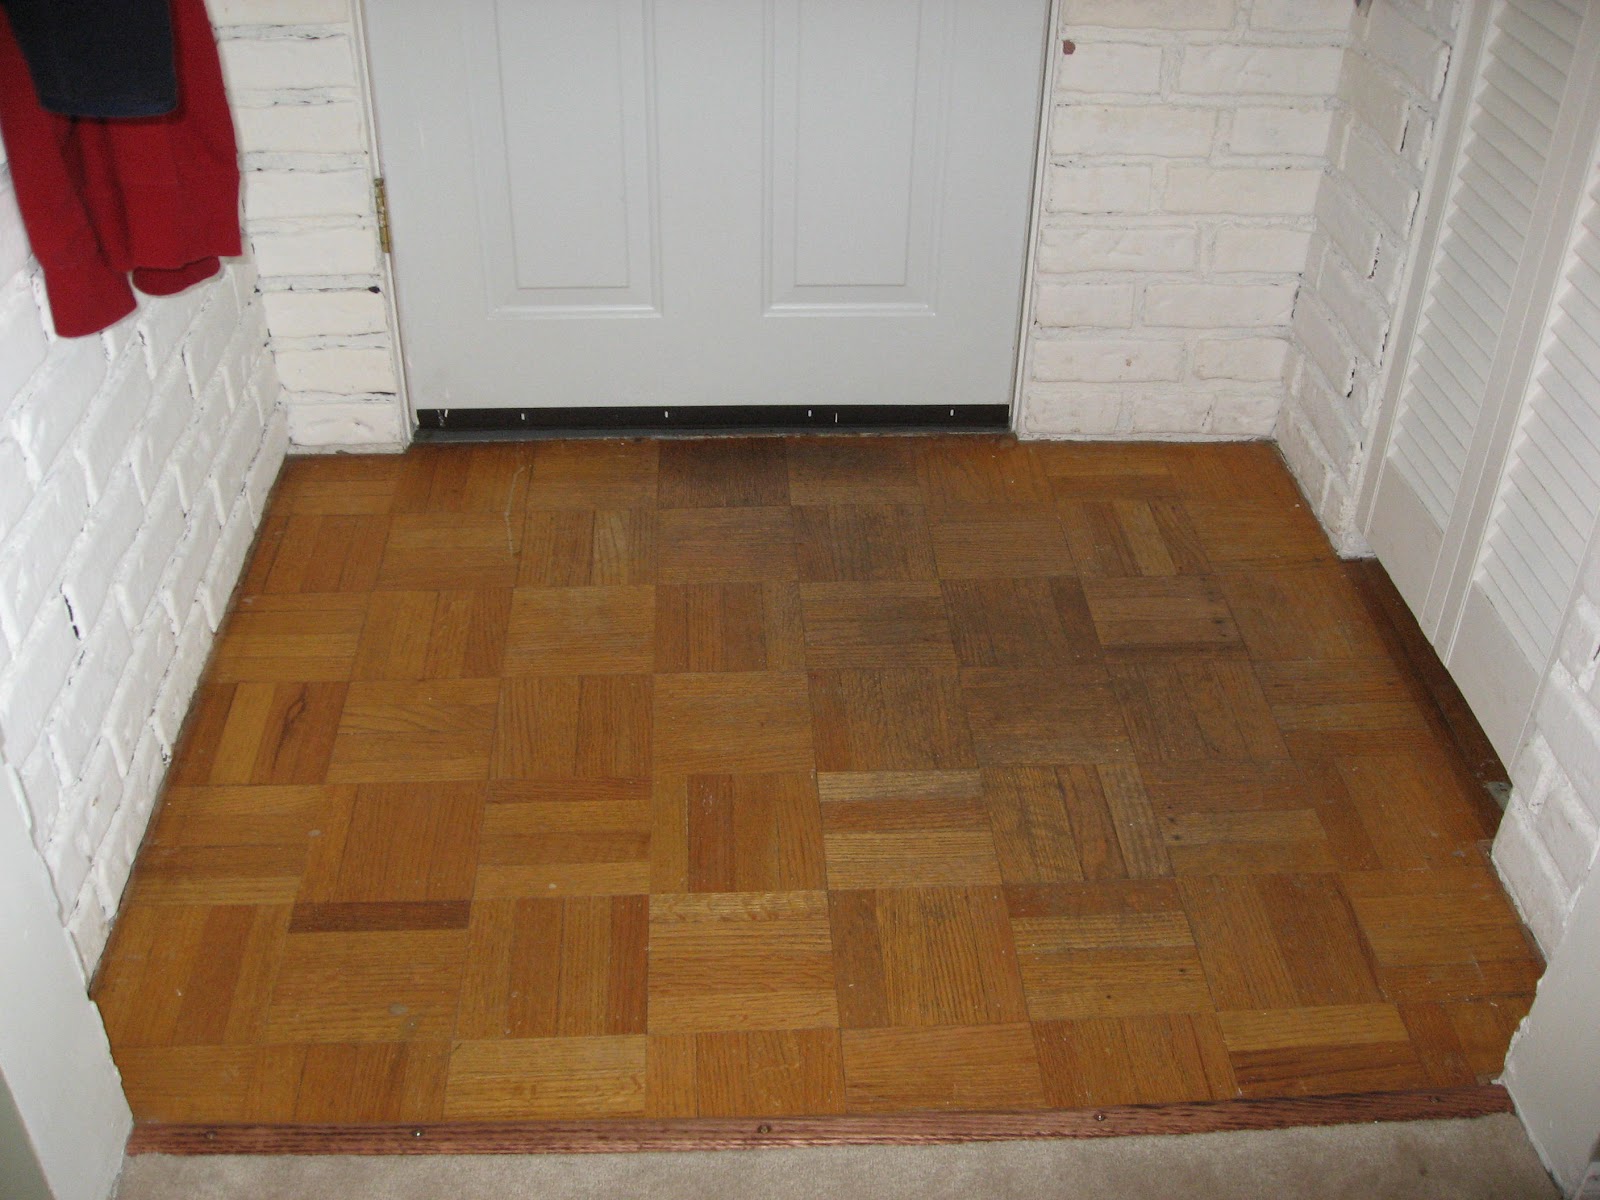
Front entry hall
 |
| Half sanded |
 |
| Before |
 |
| Completely sanded |
 |
| Finished |
Bedrooms & Bedroom hall
 |
| Guestroom - before - notice the damage on the floor from the casters of my office chair. |
 |
| Guestroom - before |
 |
| Master - before |
 |
| Master - before |
 |
| Guestroom - sanded |
 |
| Master - sanded |
 |
| Master - sanded |
 |
| Master - stained |
 |
| Master - stained |
 |
| Master - finished |
 |
| Guestroom - finished |
 |
| Check out the colour match from the kitchen hardwood to the hallway. |
 |
| Check out the colour match between the hallway hardwood and the faux hardwood in the adjacent bathroom (to the left). |
No comments:
Post a Comment