Monday, April 16, 2012

Livingroom fireplace remodel

Stage 1: Before
The sellers of our house gave us this picture to show us the work that they have done to update the living room and fireplace. Note the original pink brick fireplace surround and the classy wood panelling.
  Stage 2: Real estate photo
This is the real estate photo when our house was listed for sale.  The previous owners painted the wood panelling that surrounded the fireplace, and tiled over the fireplace surround and hearth with slate.
Stage 3: Paint
We changed the paint colour in the room painted out the mantle to blend with the wall colour.  The darker green feature section is still the original wood panelling. I was hoping that paint would be enough for me to perk up the fireplace design, but no luck.  The whole thing needs to be demolished. 
Stage 4: Demolition of the fireplace surround

Removal of the built-in fireplace mantle


They used wood studs and drywall to frame the tile facade of the fireplace.  We removed this as well as the original brick surround which was charred and quite unstable. The drywall and tile went to landfill, but the used fireplace brick was given away free on Craigslist to someone for a landscaping project. Sustainability!

Stage 5: Pouring the new concrete hearth
First we built a concrete form

We rented a concrete mixer to mix the 4 bags of concrete with the bottle of dark gray concrete stain.


Once poured, I spent quite a long time ensuring the concrete was level and smooth.
Step 6: Wood panelling removal


Once the wood panelling was removed, we discovered that it was attached to ship-lap wood siding inside the feature section of the wall.   This was used to bring the wall depth out to match the depth of the surrounding drywall.

Off comes the wood siding to find that they had insulated this section of wall with cardboard.  Let's review: wood burning fireplace wall is built with cardboard, wood siding and wood panelling, and tile facade is framed with wood studs - ALL COMBUSTIBLE MATERIALS!!!!  


All of the wood removed from this wall has been cut up and will be used for firewood. Another diversion from landfill.

We added Roxul R14 rated insulation - non-combustible.  Now it's ready for drywall.
 Stage 7: Drywall
Four sheets of drywall in total (note: drywall is non-combustible).

Drywall is up.


Taping, mudding and sanding complete.
Stage 8: Paint

Stage 9: Buying the new fireplace mantle
I found this reclaimed fireplace mantle on Craigslist for $25. Another example of sustainability - used materials diverted from landfill. 
Trying it on for size..... It's going to look great!
Stage 10: Installation of new baseboards

All of the old baseboards were removed and given away for free on Craigslist - another example of sustainability on this project. All of the furniture is pulled away from the walls to be ready for the baseboard installers. 

7 1/4" high heritage style baseboards are now installed throughout the livingroom.  The baseboard style matches the kitchen baseboard - a remodel we did this time last year.  Baseboard installation is the only part of the project that we hired out.
Stage 11: Reclaimed brick is layed for the new fireplace surround
I had leftover reclaimed antique chimney bricks from my landscaping project last year.  I found the bricks FREE on Craigslist! I mapped out the cuts required to build the sides of the surround.  The cuts were very strategic, I wanted to ensure that all of the off cuts would be used so we would minimize wastage.

Each course of bricks were layed according to my schematic, and I check for level before the next course started.  Brick ties were used once every 3 or 4 courses to ensure that the facade attached to the firebox brick behind.


It's hard to see in this photo, but a heavy steel lintel (bridge) is placed under the course of bricks which spans the opening. 

Brick ties sit inside the layer of morter between courses of bricks and are drilled into the firebox brick to secure the two together.

Chilling out after a long day of masonry.
Stage 12: New tile for the base of the hearth
The original tiling at the base of the hearth was a patch job because the original mantle wrapped around to the floor below and therefore the tiling didn't extend all the way to the wall. 

I selected a charcoal colour slate to match the colour of the poured concrete hearth.  The tiles were cut to size and tile adhesive is used to affix it to the existing tile.


Step 13: Modifications to the fireplace mantle


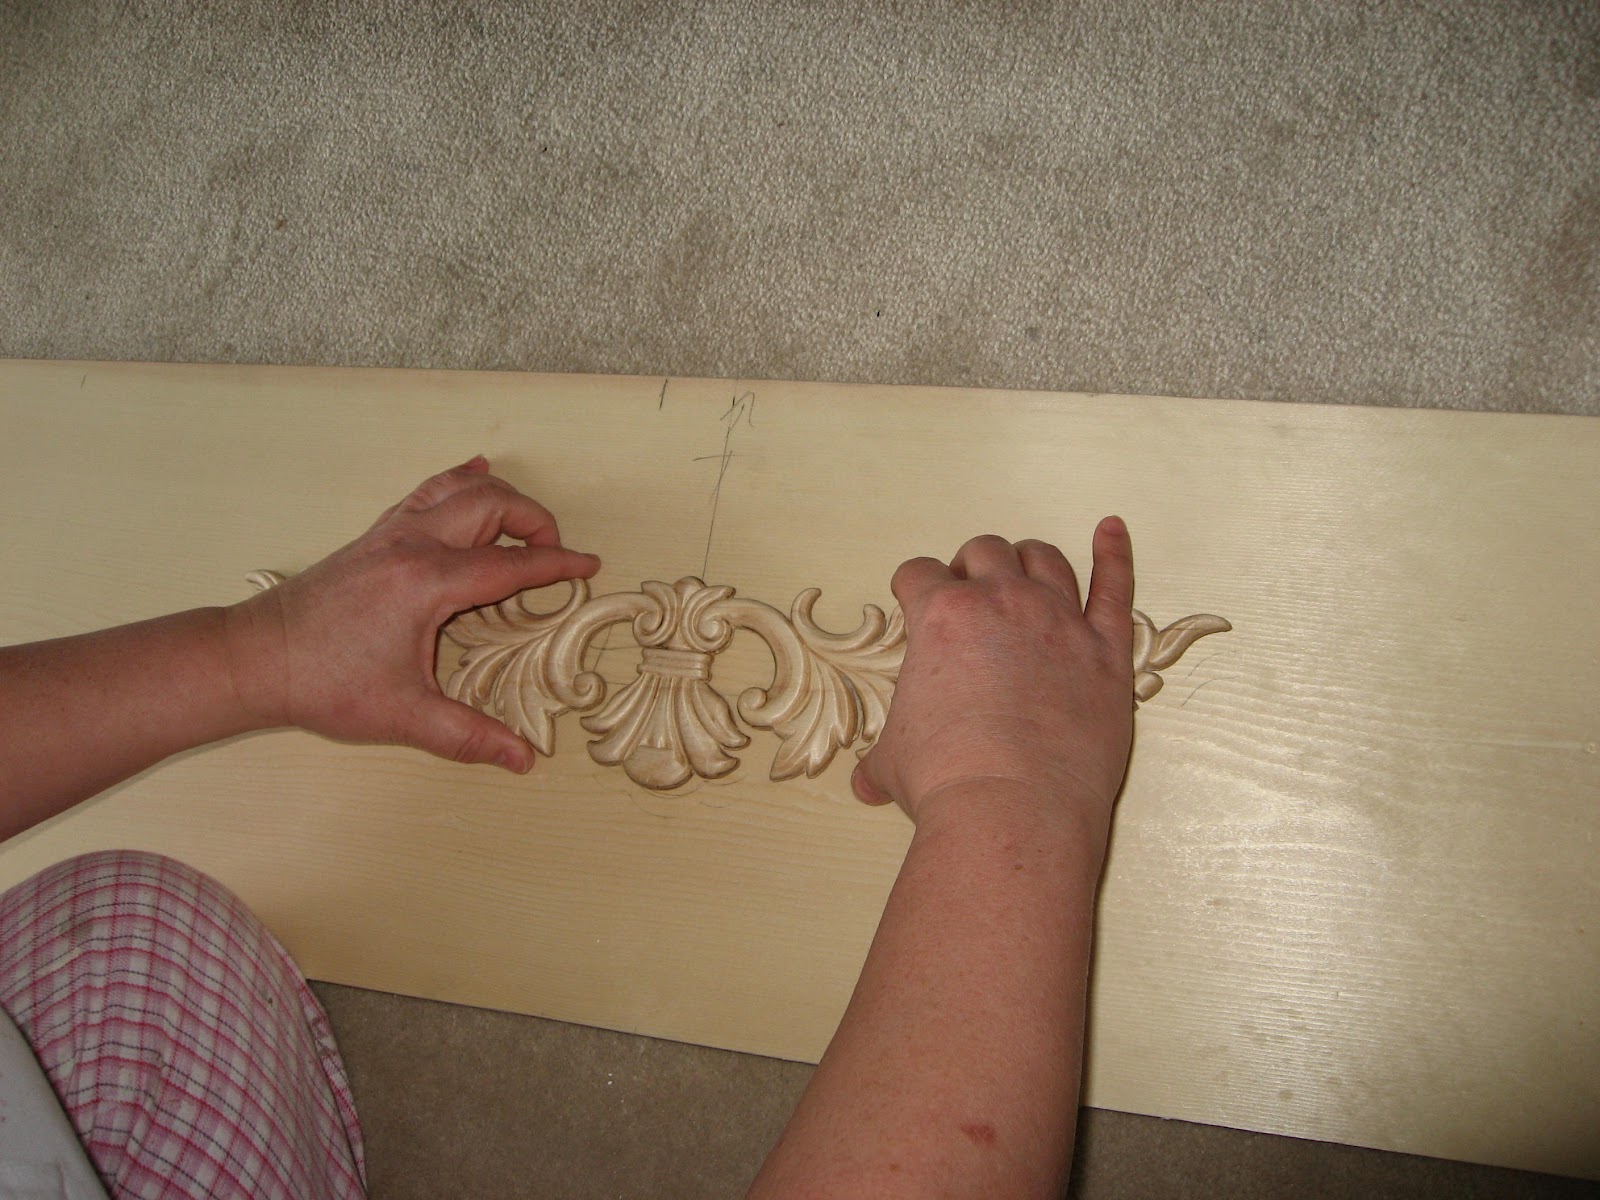
Dryfit of the new panel before I applied the moulding and painted it.


Tuesday, October 18, 2011

Refinishing hardwood floors

Our 60 year old house has original hardwood floors throughout the mainfloor, but they were badly in need of refinishing.  The job took four days start to finish.  We pulled the house apart on Thursday evening, and put everything back together on Monday evening.

The process...

Step 1: Clear the rooms
We remove absolutely everything from all of the rooms we were refinishing.  Everything was moved out of both bedrooms, the bedroom hall and the front hall and stored in the livingroom.


Step 2: Prep
Next we removed the baseboards, numbering and coding them for easy re-assembly. We also removed all of the doors and heat vent covers.

Step 3: Sanding
I rented an orbital sanding machine from my local home improvement centre.  I sanded the floors with progressively finer grit paper, until the old finish was removed and the floors were smooth.

Step 4: Vacuum
Next step was to vacuum to remove all of the dust.

Step 5: Staining
First tape off the walls to protect them from the stain.  I chose the stain colour very carefully since I was trying to match to the colour of the faux hardwood in the bathroom, and the newly installed engineered hardwood in the kitchen. I took samples of both flooring into the home improvement centre, and had them test several stain colours on a sample of oak hardwood.  The stain looks dramatically different on pine compared to oak, so if you are colour matching, make sure you test on the same wood type and your floors.  I chose Red Oak. I stained the floors using a special applicator on a broom handle.  Only one coat was required, and we let it dry for almost 24hours.

Step 6: Varathane
Varathane is the top protective coating, and you can choose either glossy or satin depending on your personal preference. I chose satin. Applying the varathane is easy, but you need to work fast.  I found that it dried VERY quickly, so I didn't have much of chance to go over an area multiple times to ensure smooth coverage.  I did three coats of varathane, with about 4hours drying and a light 200grit hand sanding in between each coat.

Step 7: Move the stuff back
After about 24 hours drying time from the final coat of varathane, the furniture could be moved back.

Front entry hall
Half sanded

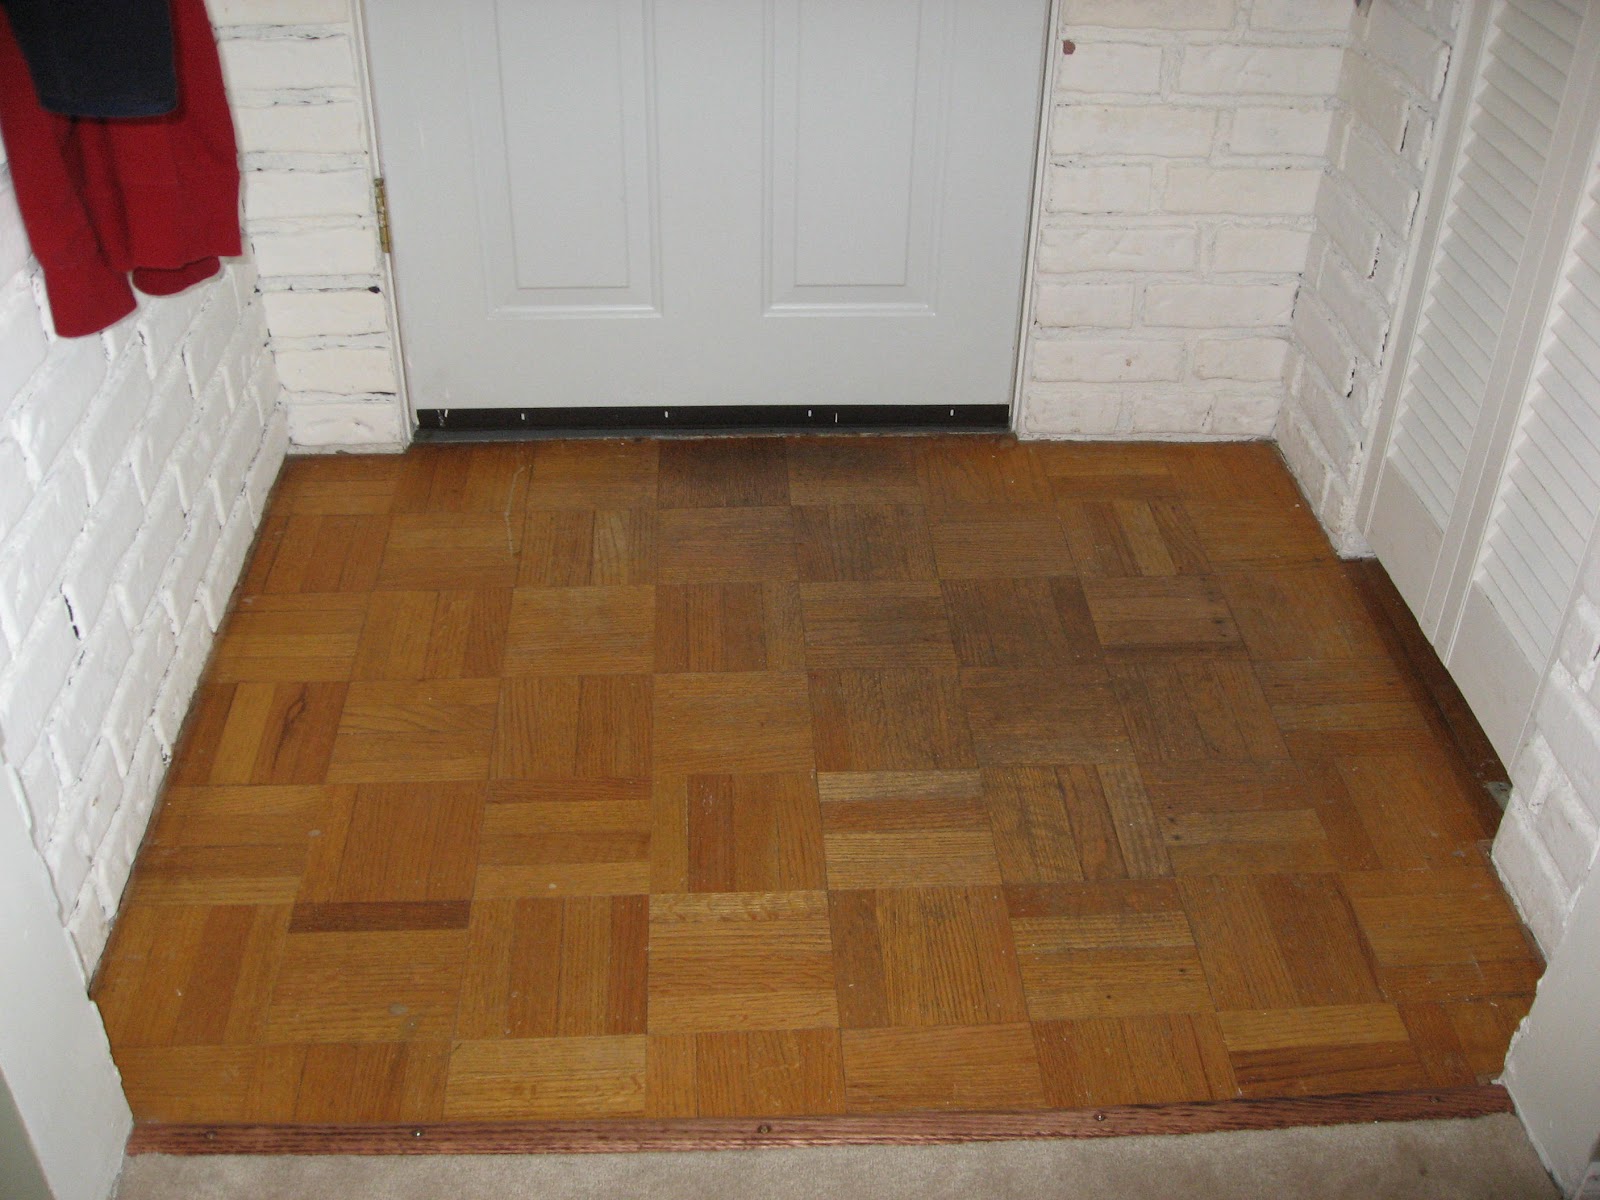
Before
Completely sanded

Finished


Bedrooms & Bedroom hall
Guestroom  - before - notice the damage on the floor from the casters of my office chair. 

Guestroom - before


Master - before
Master - before


Guestroom - sanded
Master - sanded

Master - sanded


Master - stained

Master - stained

Master - finished


Guestroom - finished
Check out the colour match from the kitchen hardwood to the hallway.


Check out the colour match between the hallway hardwood and the faux hardwood in the adjacent bathroom (to the left).