Tuesday, October 18, 2011

Refinishing hardwood floors

Our 60 year old house has original hardwood floors throughout the mainfloor, but they were badly in need of refinishing.  The job took four days start to finish.  We pulled the house apart on Thursday evening, and put everything back together on Monday evening.

The process...

Step 1: Clear the rooms
We remove absolutely everything from all of the rooms we were refinishing.  Everything was moved out of both bedrooms, the bedroom hall and the front hall and stored in the livingroom.


Step 2: Prep
Next we removed the baseboards, numbering and coding them for easy re-assembly. We also removed all of the doors and heat vent covers.

Step 3: Sanding
I rented an orbital sanding machine from my local home improvement centre.  I sanded the floors with progressively finer grit paper, until the old finish was removed and the floors were smooth.

Step 4: Vacuum
Next step was to vacuum to remove all of the dust.

Step 5: Staining
First tape off the walls to protect them from the stain.  I chose the stain colour very carefully since I was trying to match to the colour of the faux hardwood in the bathroom, and the newly installed engineered hardwood in the kitchen. I took samples of both flooring into the home improvement centre, and had them test several stain colours on a sample of oak hardwood.  The stain looks dramatically different on pine compared to oak, so if you are colour matching, make sure you test on the same wood type and your floors.  I chose Red Oak. I stained the floors using a special applicator on a broom handle.  Only one coat was required, and we let it dry for almost 24hours.

Step 6: Varathane
Varathane is the top protective coating, and you can choose either glossy or satin depending on your personal preference. I chose satin. Applying the varathane is easy, but you need to work fast.  I found that it dried VERY quickly, so I didn't have much of chance to go over an area multiple times to ensure smooth coverage.  I did three coats of varathane, with about 4hours drying and a light 200grit hand sanding in between each coat.

Step 7: Move the stuff back
After about 24 hours drying time from the final coat of varathane, the furniture could be moved back.

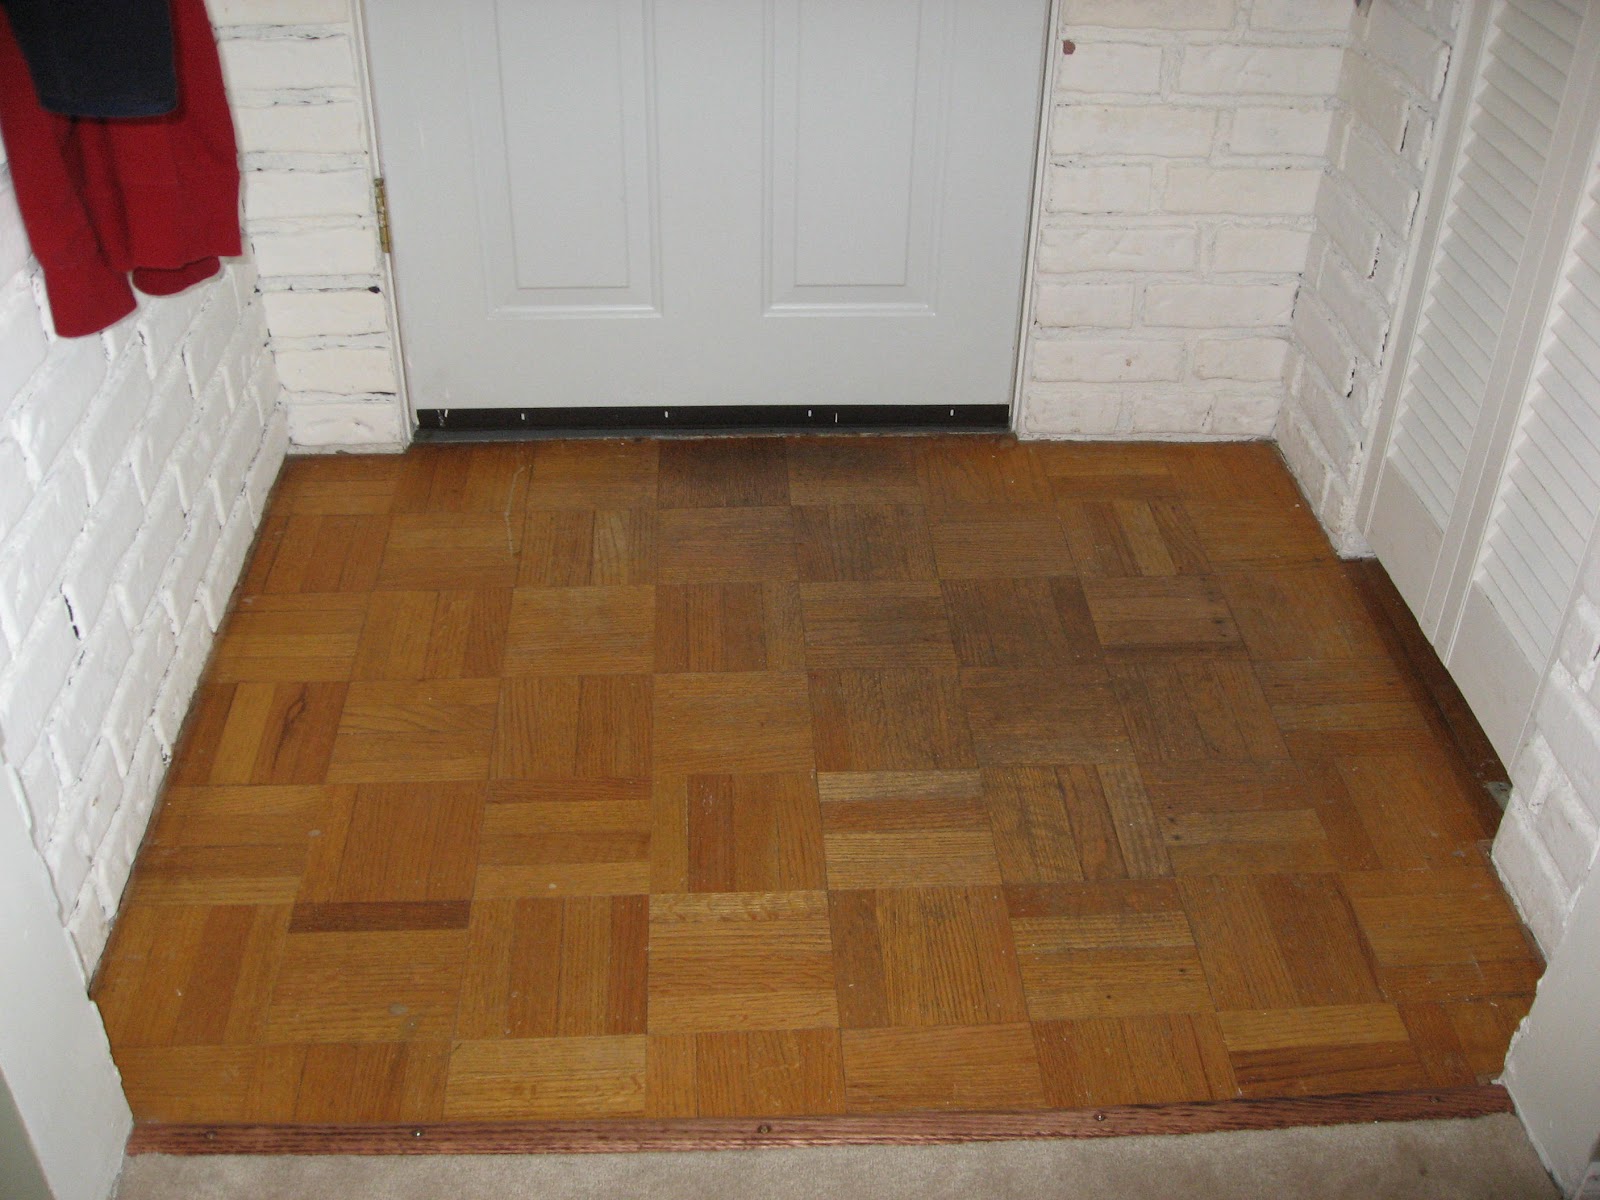
Front entry hall
Half sanded

Before
Completely sanded

Finished


Bedrooms & Bedroom hall
Guestroom  - before - notice the damage on the floor from the casters of my office chair. 

Guestroom - before


Master - before
Master - before


Guestroom - sanded
Master - sanded

Master - sanded


Master - stained

Master - stained

Master - finished


Guestroom - finished
Check out the colour match from the kitchen hardwood to the hallway.


Check out the colour match between the hallway hardwood and the faux hardwood in the adjacent bathroom (to the left). 


Sunday, July 24, 2011

Cobblestone walkways

The front and back walkways at our home were poured concete, and badly in need to replacing.  Firstly, they sloped towards the house, causing drainage issues.  They were also very narrow, broken and uneven, and the path was formed in a very linear unattractive design. I patiently checked Craigslist for free chimney bricks, and was finally able to score the amount I needed for the project. I would estimate that I used around 1100 bricks in total for both the front and back walkways.

Front walkway:


Before

Step 1: remove grass & old concrete walkway. Rake to ensure proper grading. Compact with hand tamper.

Step 2: Add gravel and compact with hand tamper.

Step 3: Lay bricks in chosen pattern. Compact with hand tamper.

Step 4: Add sand and work in between the gaps.  Compact with hand tamper.

Step 5: Add soil to new garden area. Plant shrubs and perennials. Add mulch as top layer.

Backyard walkway:

Before

Step 1: remove the grass and old concrete walkway. Rake to ensure proper grading.

Step 2: add gravel & compact.

Step 3: Lay bricks in chosen pattern. Compact.

Step 4: add sand and work into the gaps between the bricks. Compact.

After


Monday, April 18, 2011

Firewood stacker

With a wood burning fireplace inside, and an outdoor firepit in the backyard, we go through a fair amount of firewood at our house. Without the luxury of a garage for indoor firewood storage, I needed to come up with an alternative solution for covered wood storage.

Solution:
With very minimal supplies, I built a firewood stacker that has three functions.

  1. It creates a visual barrier to the utility area behind, hiding from view the compost, wheelbarrow and yard trimmings bin.
  2. It helps define the firepit seating area by cozying up the openness of the backyard and creating the firepit zone.
  3. It allows us to neatly stack the firewood under cover, at arms reach to where the wood will be burned.


Wednesday, March 30, 2011

Kitchen renovation


Before:

Planning:

During:


After:


Custom garbage & recycling drawer under the sink

Custom spice pull-out and kick-plate drawer
Design colour board
Design choices:
Cabinets: Ikea TIDAHOLM - painted with Behr - "Silver Leaf" W-F-720
Cabinet hardware: Ikea HEDRA & SMIDD
Countertop: Granite - White River 
Wall paint colour: Benjamin Moore - "Nantucket Gray" - HC-111
Trim paint colour: Behr - "Silver Leaf" - W-F-720
Livingroom feature wall paint colour - Benjamin Moore - "Tate Olive" - HC-112
Appliances: GE Cafe (scratch & dent ; floor models)
Sink: 30" porcelain single basin farmhouse sink  - purchased on Ebay
Faucet: Hansgrohe "Metro" model #06697705
Soap dispenser: Ikea
Flooring: Engineered hardwood - Red Oak - 3 1/4" width
Kitchen island: Ikea STENSTORP
Utility cupboard pull-out rack: Lee Valley Tools 12K12.20
Backsplash: painted beadboard - Behr "Silver Leaf" W-F-720
Utility rail on backsplash: Ikea
Lighting: potlights & vintage schoolhouse fixture above island (antique store)
Baseboards: vintage 7 1/2" high solid wood - purchased for $10 at local salvage yard - stripped and painted


Sunday, May 23, 2010

Bathroom re-model on a budget

Before
Although functional, the bathroom in our 60year old house was quite dated. Gold lamay mirror frame, chocolate brown fixtures, brown floral pattern tub tiles, orange linoleum floor, and Gramma's lace window curtains. Since this is our only bathroom, we need to find a re-model plan that was budget minded, but that also remained fully functional for us through the entire process.

The solution:

  • Paint. I painted the solid wood vanity a creamy white and replaced the hardware and hinges.  I painted the wood mirror frame. I even painted the light fixture.  I painted the walls and ceiling of course.  I painted the plain builder quality wood door.

  • New shower fixture.  We removed the old rickety shower door and gave it away for free on Craiglist. This was replaced with a hotel style curved shower curtain rod. I hired a plumber to replace the dated shower fixture, upgrading to a hand shower system from the basic fixed shower head that was there before. This was a one day procedure.

  • Backsplash.  How hard can it be to do your own tiling?  It's actually quite easy.  We selected a small scale tile mozaic that didn't require the rental of a tile saw.  With some great advise from our home improvement store, we had the new backsplash done in one weekend.

  • More paint. I hired a professional to reglaze the tub and tile with a plain white paint. This was a one day procedure, and we were able to shower the next morning.


  • New sink and toilet. These are relatively cheap and easy to replace yourself.  My partner Rich and I studied toilet replacement on youtube over coffee in the morning, then by the afternoon our new white toilet was installed and functional.  The sink and faucet was equally easy.


  • Flooring. I had my heart set on installing hardwood flooring in the bathroom, but all conventional wisdom advised against it.  Instead we installed a vinyl plank flooring that looks and feels like hardwood, and actually matches the colour of the rest of the hardwood in the house.


  • Total cost for all of the above was around $3000.


Saturday, March 6, 2010

Master bedroom design

My personal style of decor is quite eclectic, I like to call it 'shabby chic'.  Nothing matches, but everything coordinates.  I think my sense of thriftiness was programmed at an early age, because I have trouble buying ANYTHING new, and certainly don't pay full retail price very often.  The list for decor in the master bedroom included:


  • New paint job
  • duvet cover
  • dressers & side tables
  • chair
Before - this is the real estate listing photo with the decor from the previous owners.
Stage 1: added our bed & newly purchased 'used' dressers
Paint colour is: Rona 'Charcoal" #239-53.  This colour matches the piping on the duvet covet.  The headboard is antique wrought iron spray painted white. 

Both dressers and the little night table were purchased on Craigslist, along with the dresser mirror (separate find from the dresser). The antique chair was purchased at a local thrift store.